Superbug Sunday Specifics #3 - Boost Areas, Barriers and Carriers
Hello again! It's another month, which means another Superbug Sunday. This month, I want to talk about features we added to support another one of Superbug's core mechanics: the boost.
If you've seen the Mutations update teaser, you may already know that the update will feature new weapon types to use (we will talk about those in a later post, don't worry!). Early on in the update's development, we once considered having alternate boost types, too - but ultimately that idea was scrapped. Superbug's boost is too fundamental to the game to just mess around with; the game would lose some of its identity. Instead, it's better for the game if we explore new ways to use the boost.
To begin explaining the new features, the current systems must be understood. Thankfully they're quite simple: to boost, you require one Boost Energy, which is consumed. Enemies have a random chance of creating Boost Droplets when killed (by any means other than contact damage), which you can run into to pick up, thus restoring 2 Boost Energy. This system as it works in Superbug 1.0 is straightforward, but has many areas that it can be improved, as you will see.
Boost Droplets
Our first step was to improve how we approach these existing systems. To begin with, enemies rolling for boost drops on death made it difficult to plan combat around getting boost energy. We first made it so that enemies instead roll for boost drops when they spawn - allowing us to add this handy telegraph effect, one of our rare use cases of SUPERBUG's special highly-saturated colors as teased in SSS #1. These enemies will still not drop boost energy if you kill them with contact damage, so you have to be careful to kill them in certain ways if you need the energy. For this reason, enemies that try to approach you will be more likely to drop boost energy than stationary enemies!
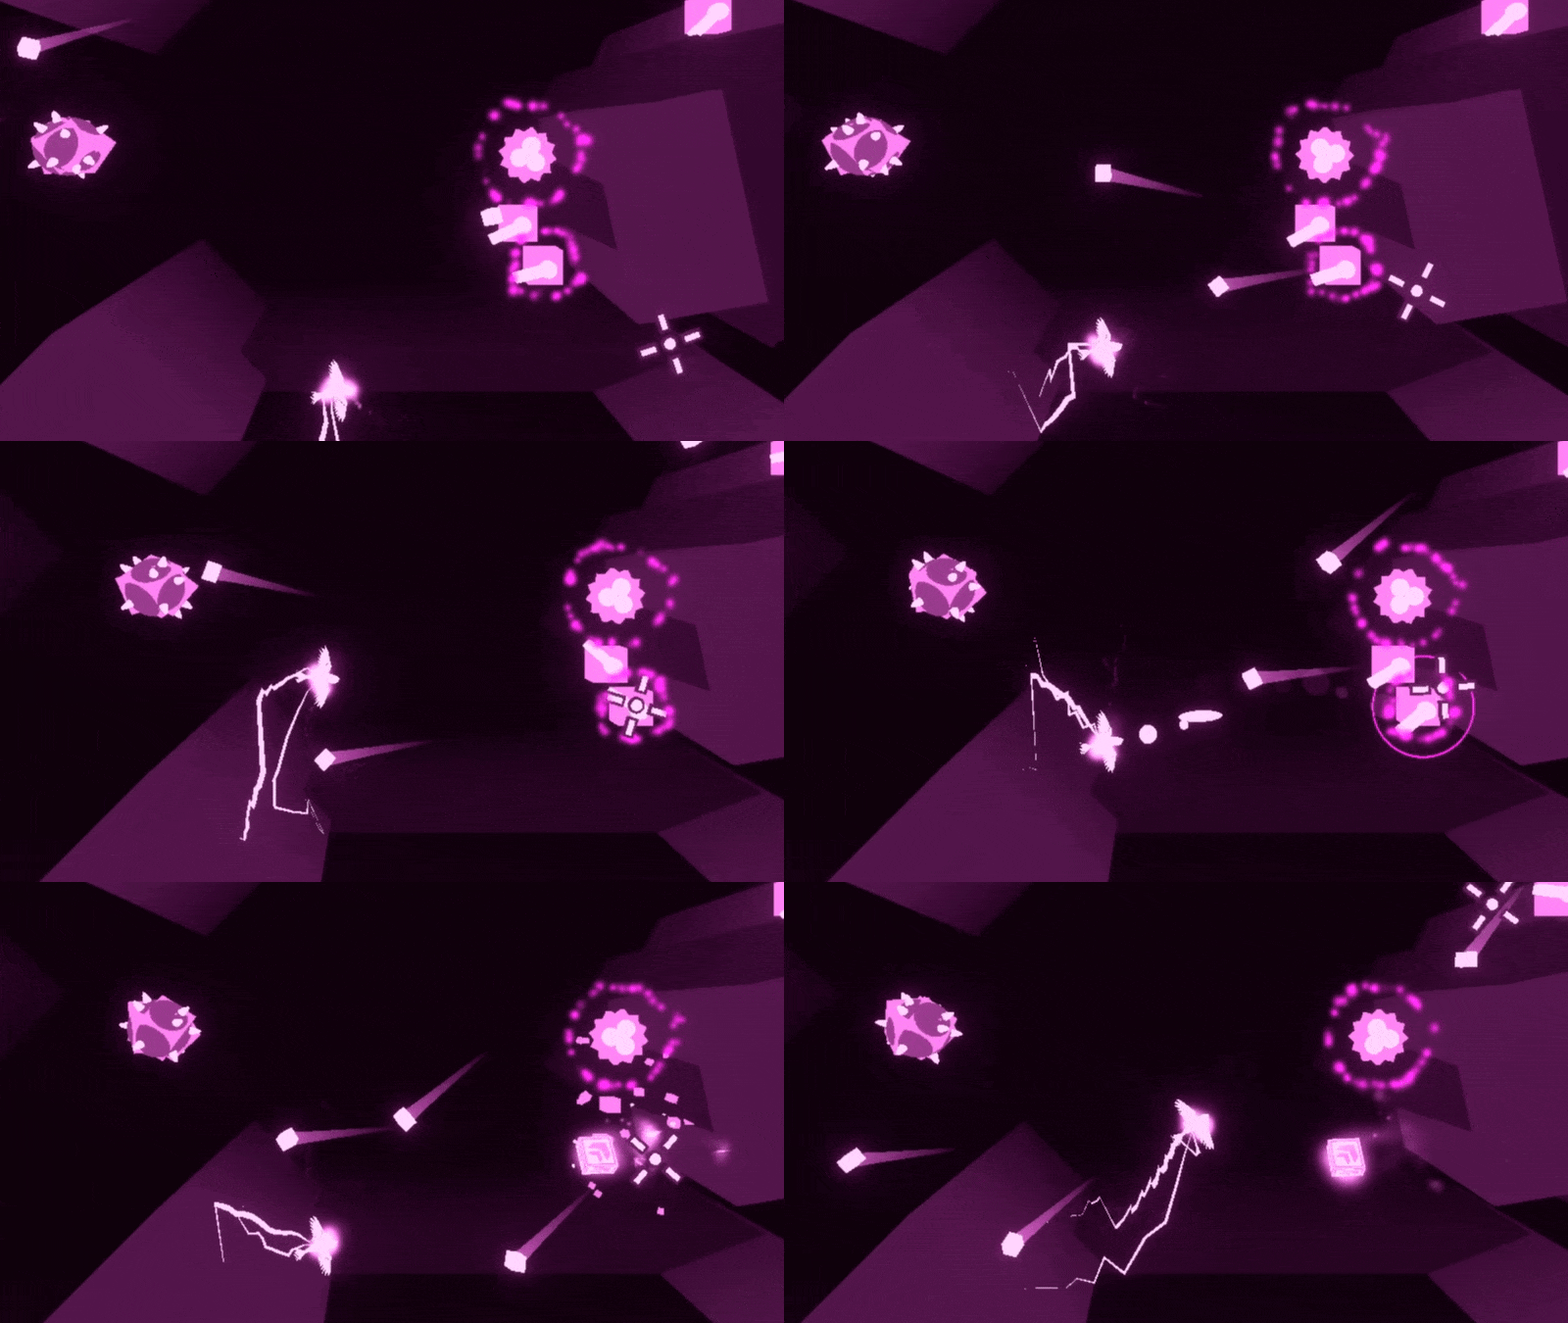
Additionally, needing to run into boost droplets to pick them up was something that requires far too much precision for SUPERBUG's movement controls, and would disrupt the flow of gameplay. We thus granted them the ability to gravitate toward a valid target. Now, when you enter a certain range, boost droplets will try to follow you as long as you have boost energy to restore.
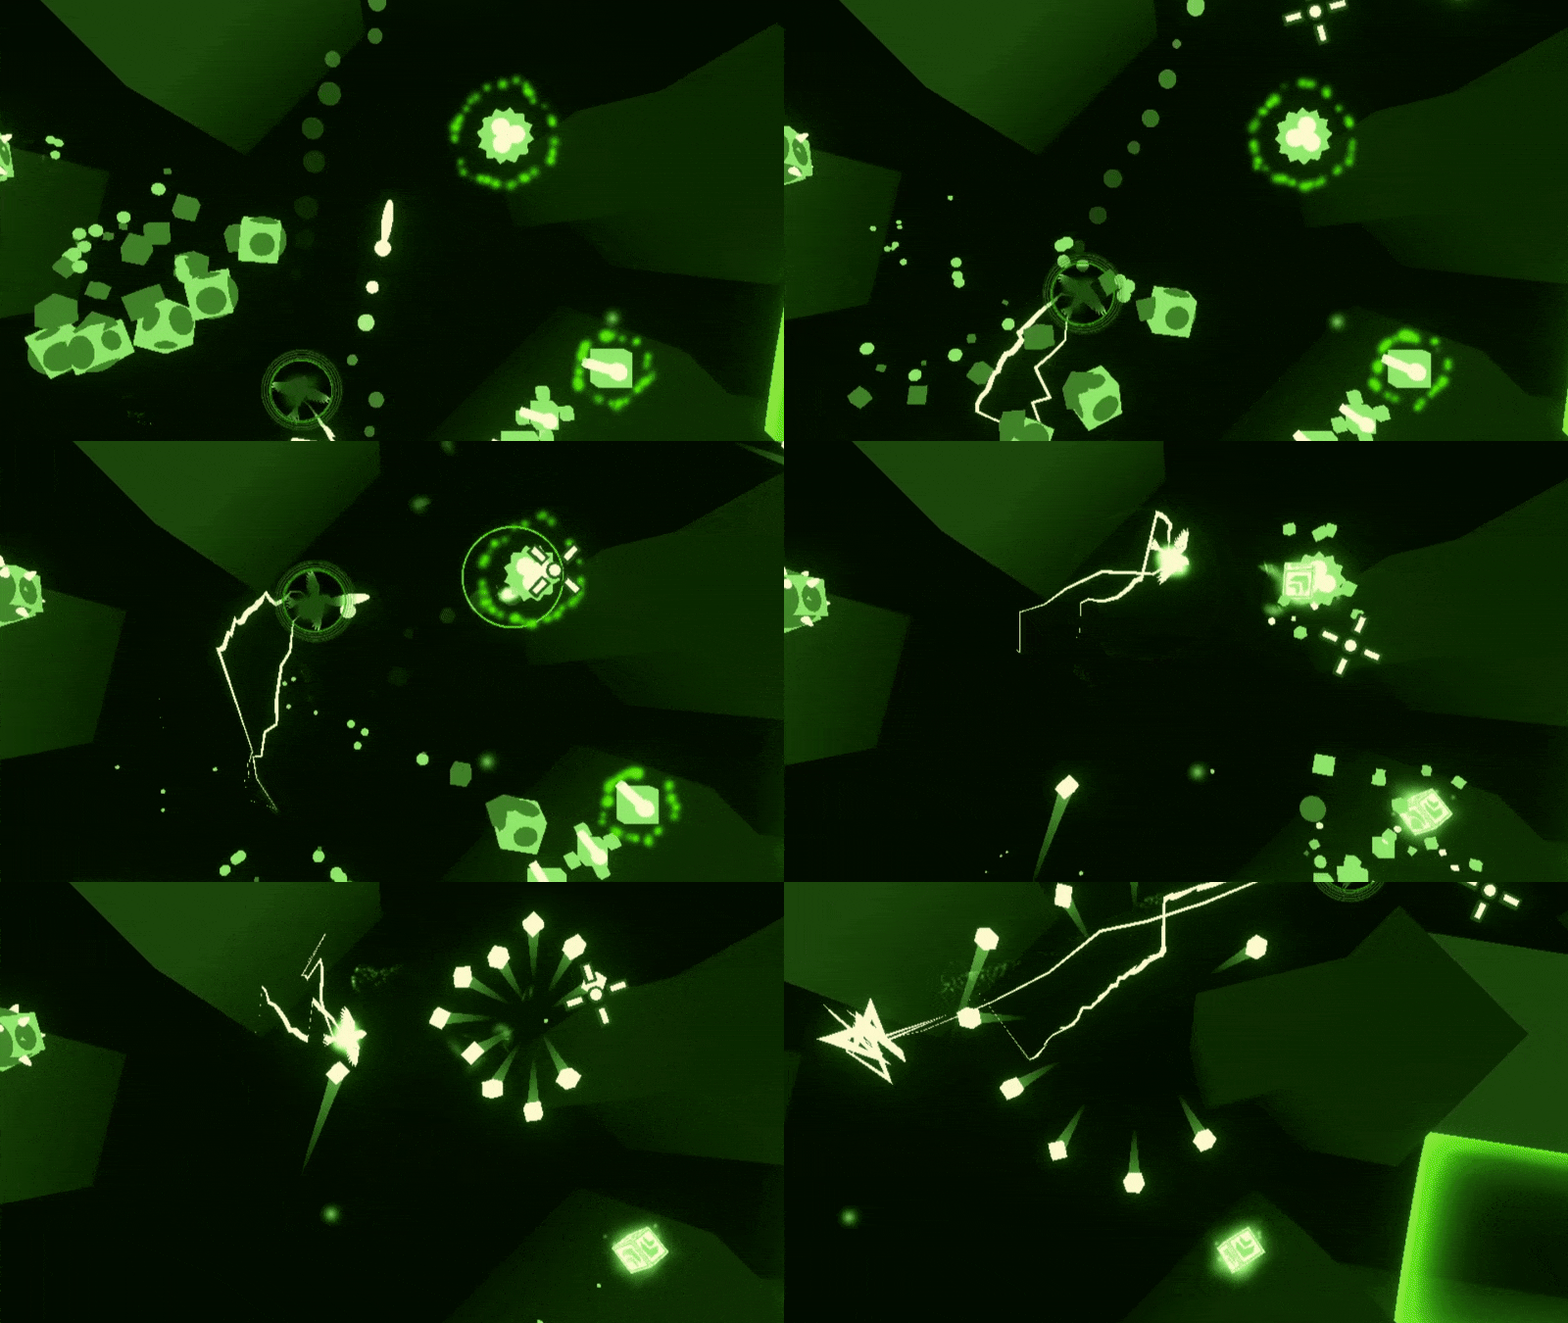
In addition to these changes made to boost droplets, we also wanted to add a new way to create boost energy with highly intentional timing. This will allow us to make random boost drops much less common (and therefore more exciting to play around), while ensuring that boost energy can still be maintained when it is needed. Combined, we now have much more control over the pacing of levels, while still allowing some variance in how they play out. Introducing...
The Carrier
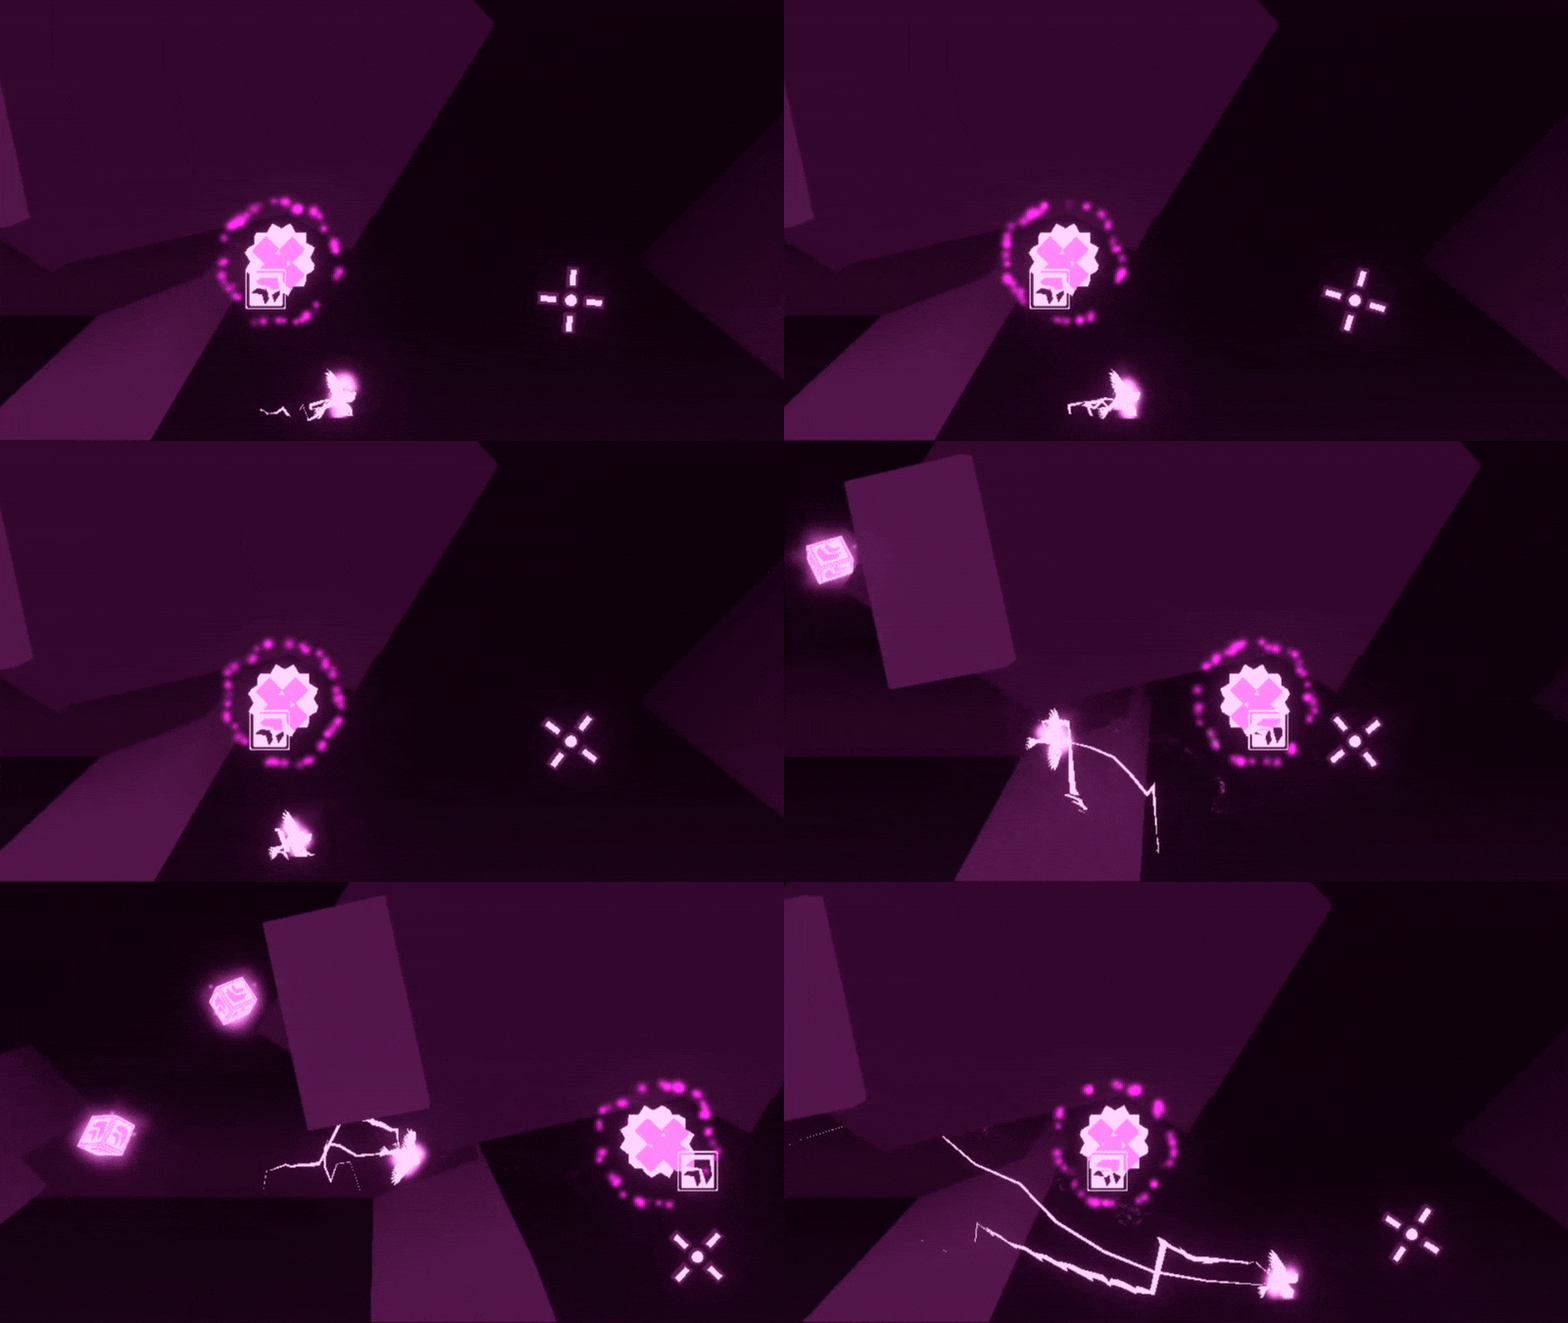
The Carrier is a special new enemy type, whose sole purpose is to supply droplets. Carriers will always create a droplet when killed, no matter if by contact damage or otherwise. The beauty of this enemy is that, thanks to the new telegraph effect we added, and the handy hologram hovering overhead, the Carrier effortlessly and unambiguously communicates that it has a special reward for you.
In addition to being a droplet-delivery method, the Carrier has many special applications due to its inability to attack the player in any way. This isn't a Boomer - the only way you can be hurt by it is with your own contact damage. These special applications include things I will talk about in later SSSs, but you'll get to see a sliver of their usefulness later on in this post, too.
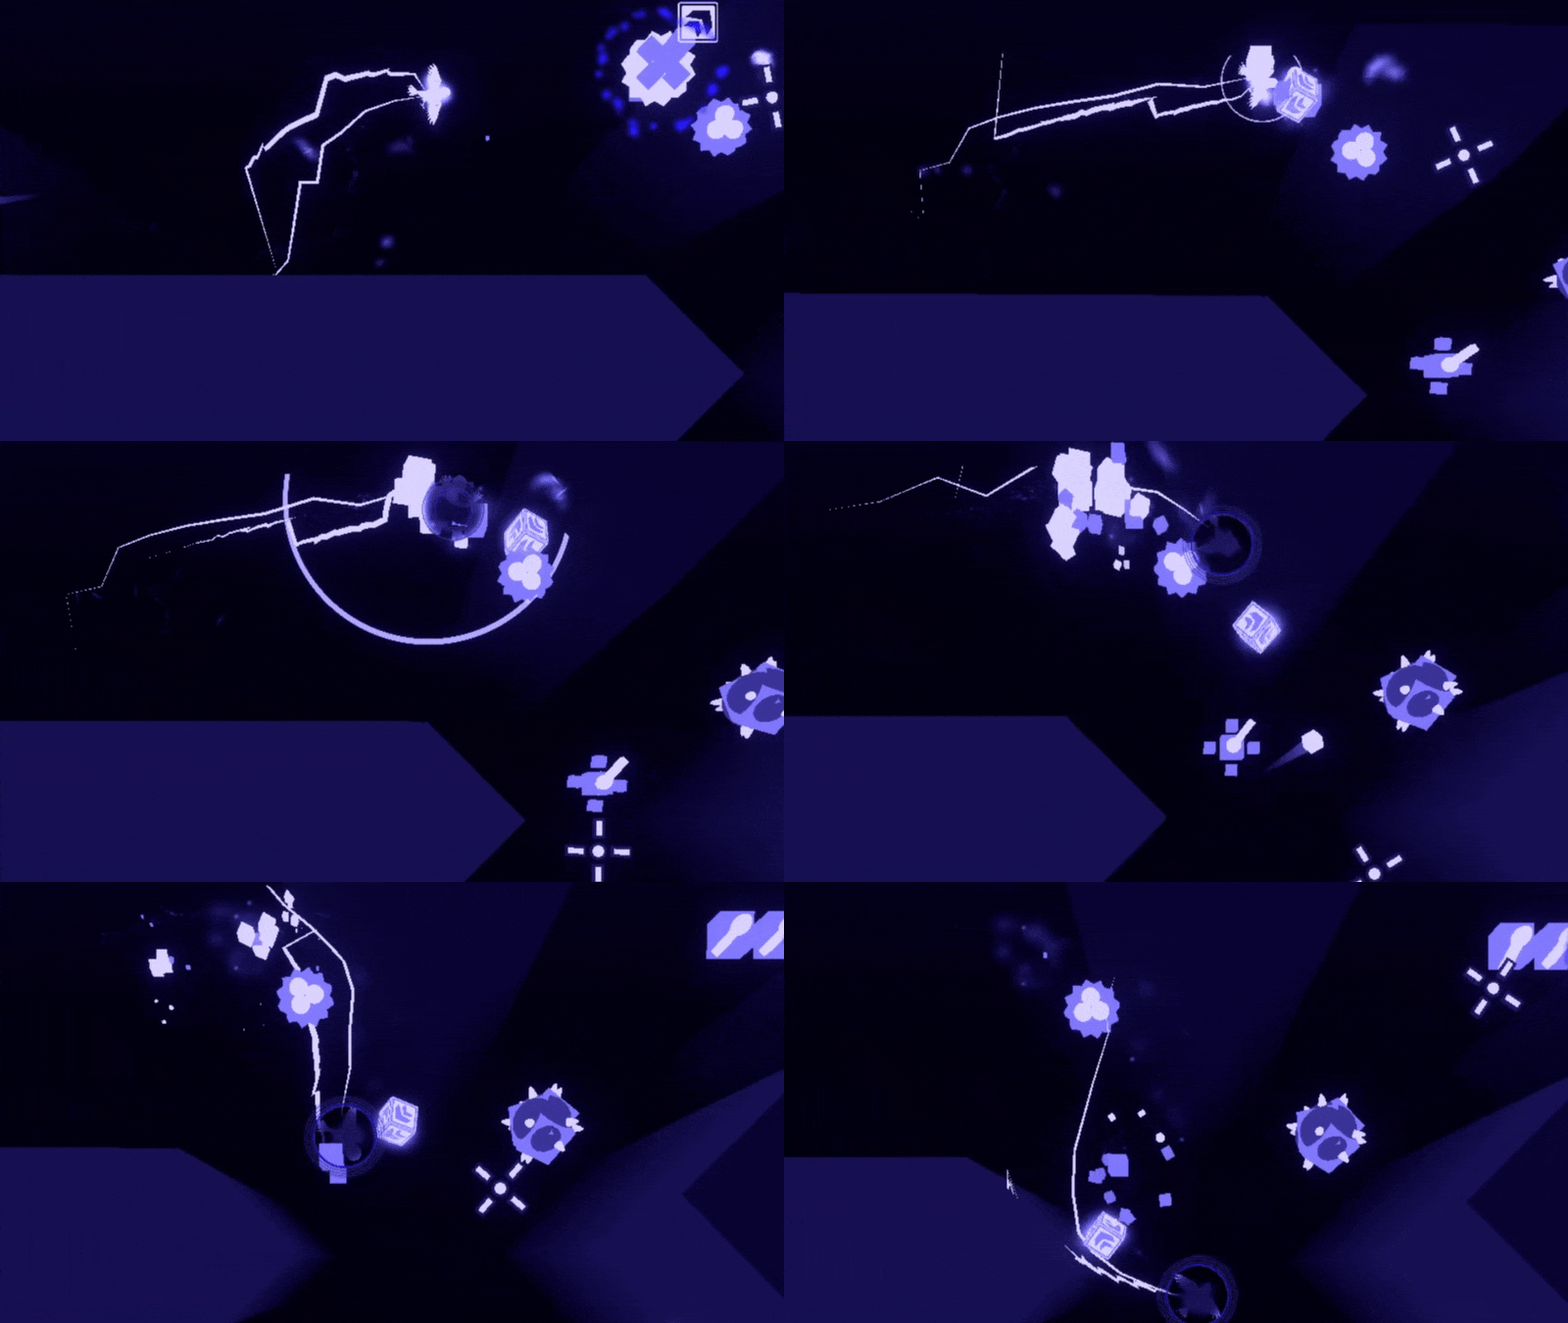
In the meantime, let's discuss new ways to spend your boost energy.
Barriers
Superbug today would be nothing without its iconic Clusters. While behaving like walls, the Cluster is also a destructible object that can be turned into a devastating weapon. In 1.0, the only way to do so is with contact damage (boosting optional), but there will be more ways to crack it open... including ways for enemies to use them. It was honestly inevitable; the cluster-shot effect of the Cluster is too cool to not try and use it in more ways. Because of this, there's also a perfect opportunity to make a brand new destructible object that is truly impenetrable.
The Barrier, unlike Clusters, is a team-aligned destructible. This means that all enemies and enemy projectiles can freely pass through Barriers. On the contrary, player projectiles will deflect off of barriers, meaning that you can't even kill enemies behind with a large AoE attack. This also has a beautiful side effect of visually demonstrating that the barrier is impervious to your attacks.
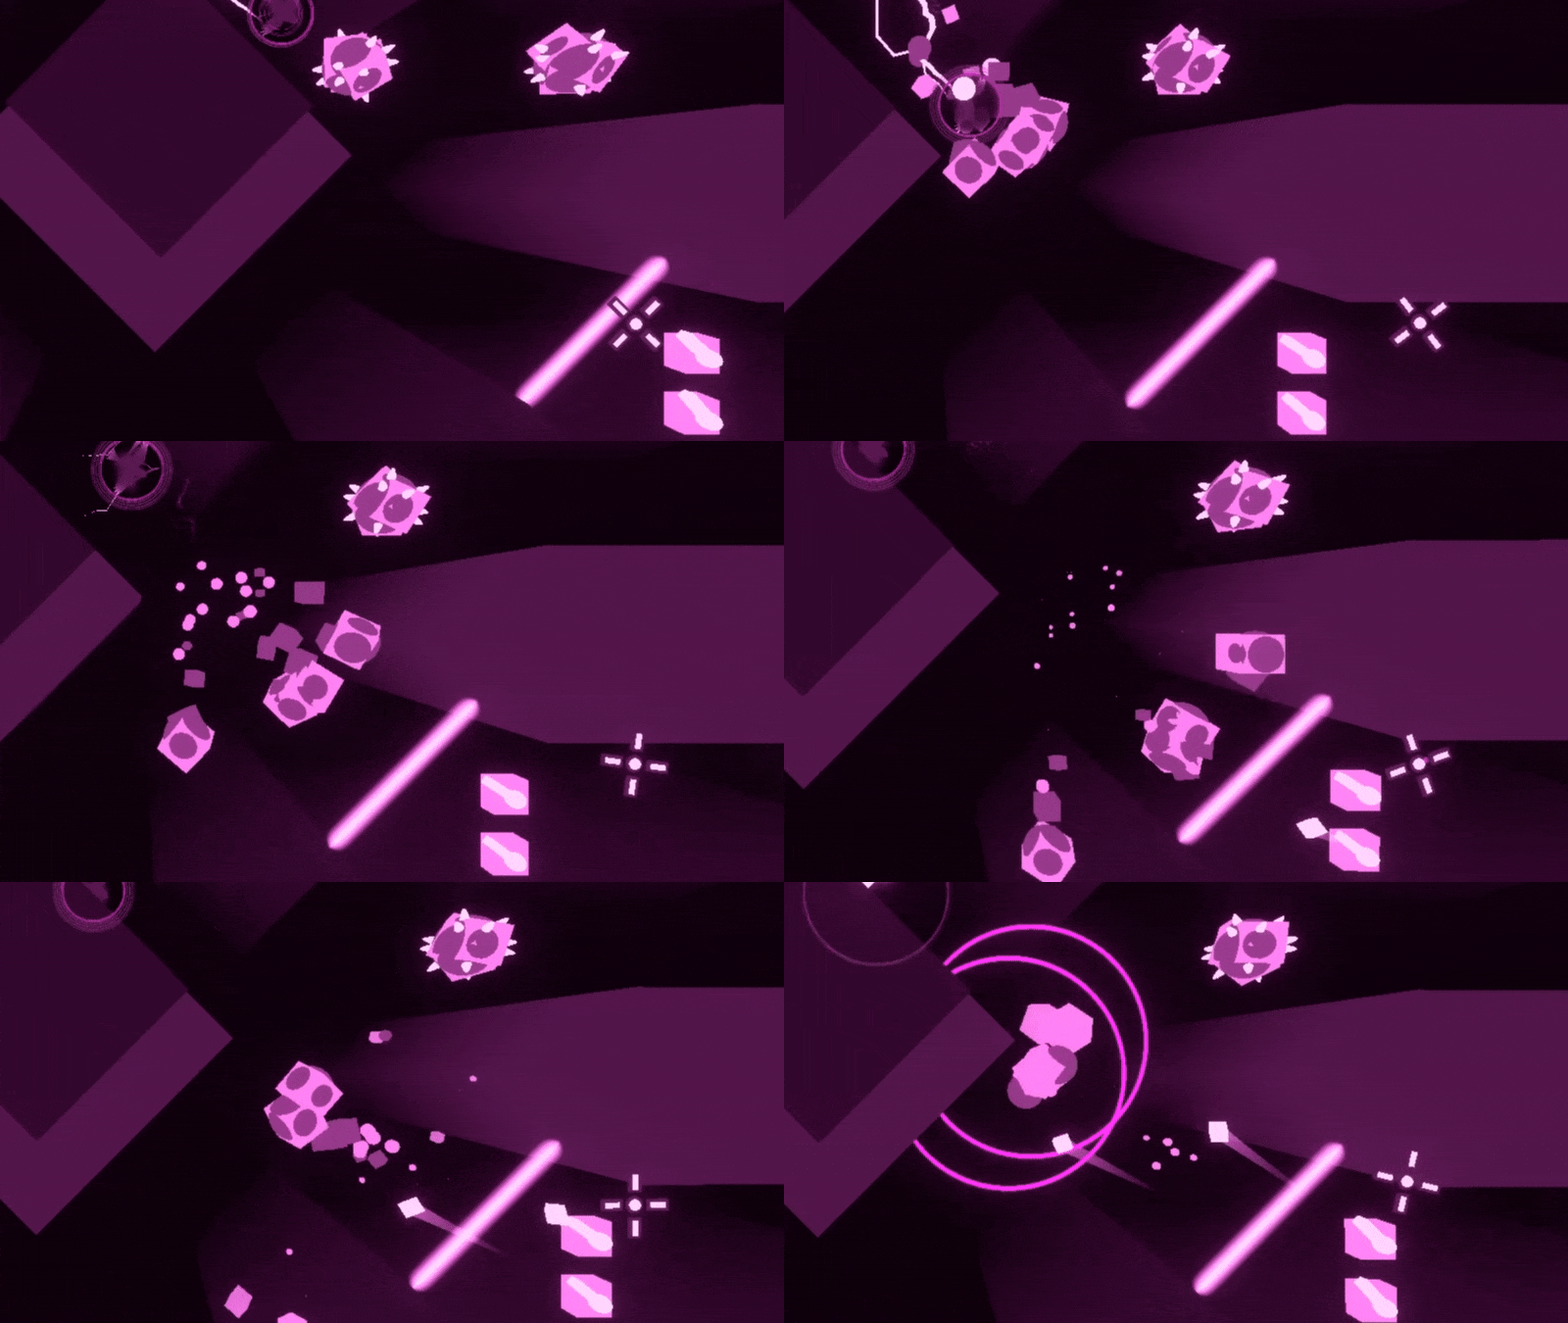
Because of its unique properties, having Barriers allow us to create different kinds of walls from what Clusters might enable. For example, an enemy might be protected by a barrier, with the only way to reach them (let alone kill) being to spend one of your boosts to destroy the barrier. In other cases, you may be able to ricochet your projectiles off of a conveniently placed barrier, allowing you to reach and kill enemies around corners.
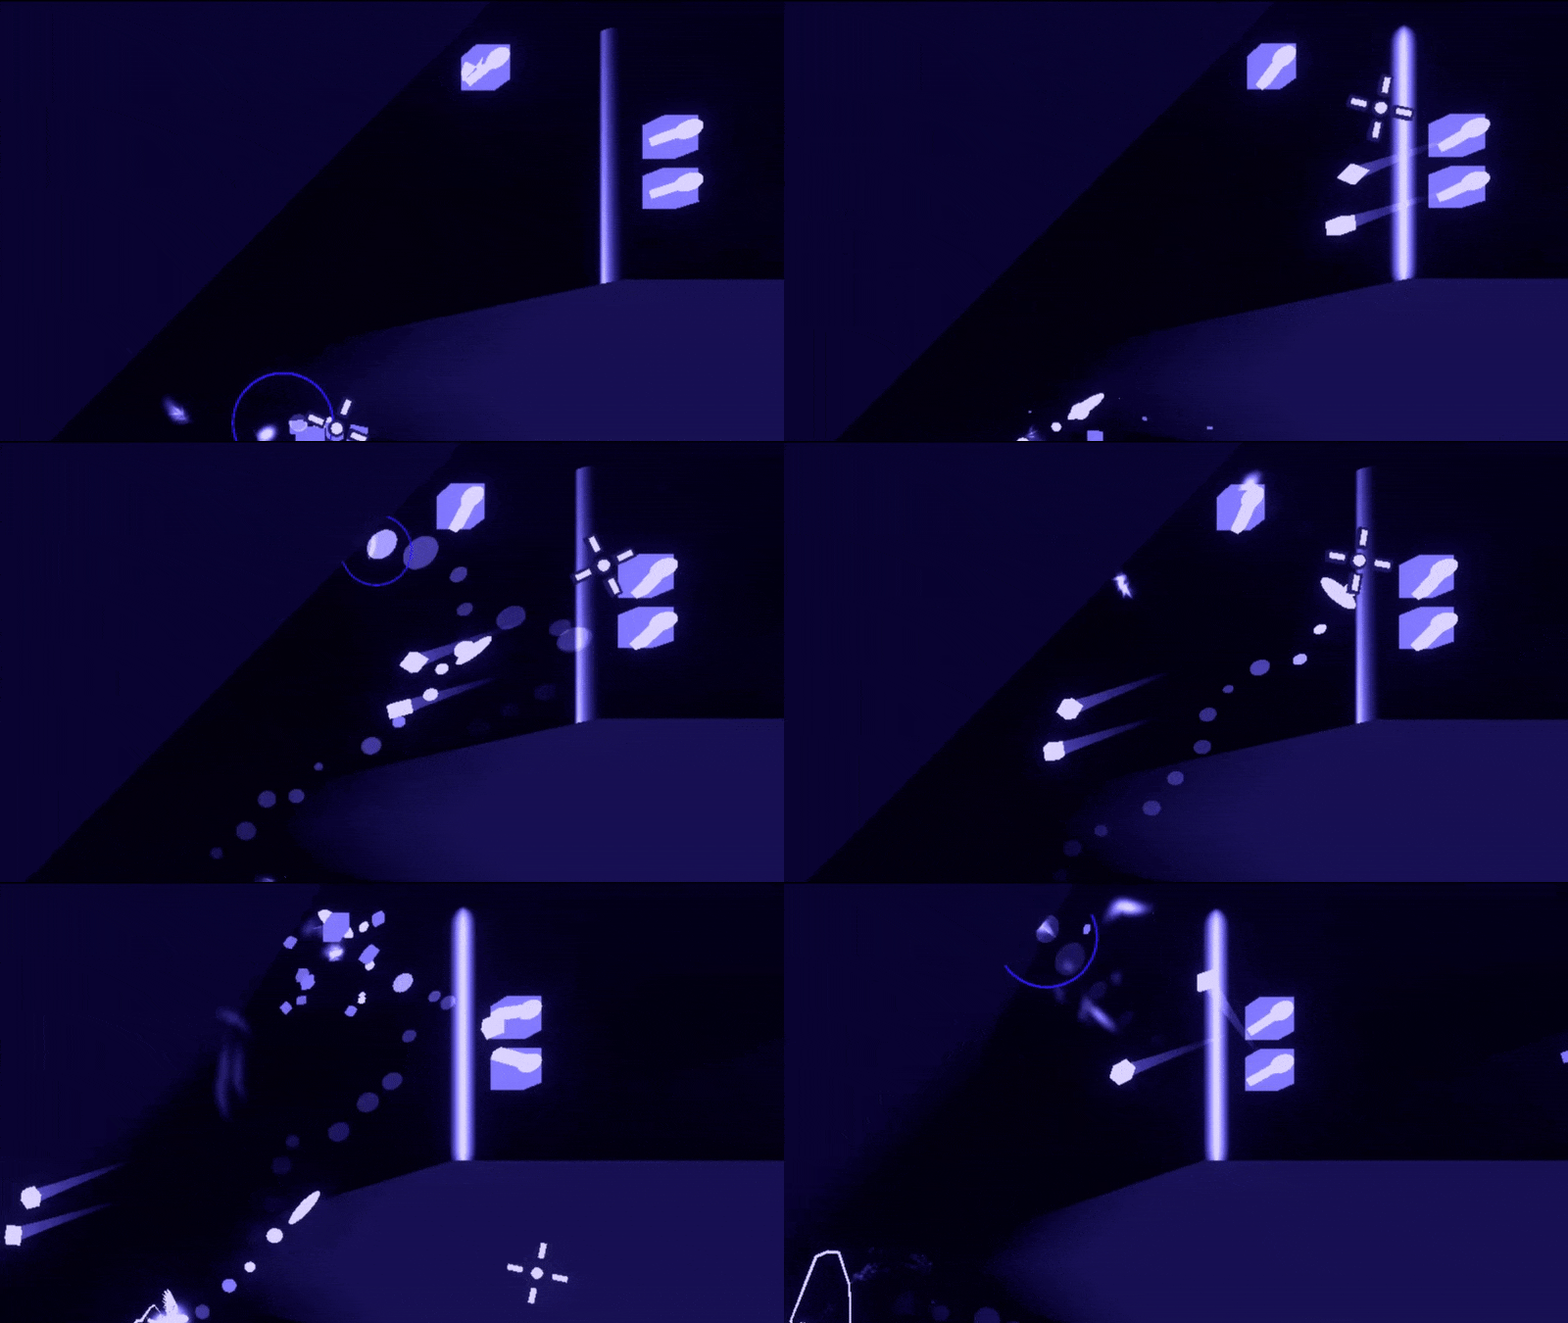
The concept behind Barriers was ultimately for us to add a way to create combat situations where an actively threatening enemy can only be killed by boosting into them. Clusters differ from Barriers in the sense that they disable combat from both ways - they are truly a wall until destroyed - and in this way the Barrier is like an opposite to Clusters. Adding the ricochet was mainly a way to visually communicate a Barrier's function; but naturally as game designers, we will always be excited for cute ways to use special tools like this one. That property also allows us to make barriers in different forms, while making each different form immediately intuitive.
Speaking of opposites, let's find one more way to contrast Boost Carriers in providing boost energy. In order to effectively juxtapose Droplets, we need something that affects your movement more than your attacks, and has an immediate impact.
Boost Areas
Of course, I came up with what a Boost Area should be before I really thought about how great it would be for the game. Once I had thought of it though, I couldn't not add them, and that was what initiated the wave of new boost features. This new feature - what we call a Boost Zone - allows you to boost without requiring or consuming Boost Energy as long as you are inside of its area.
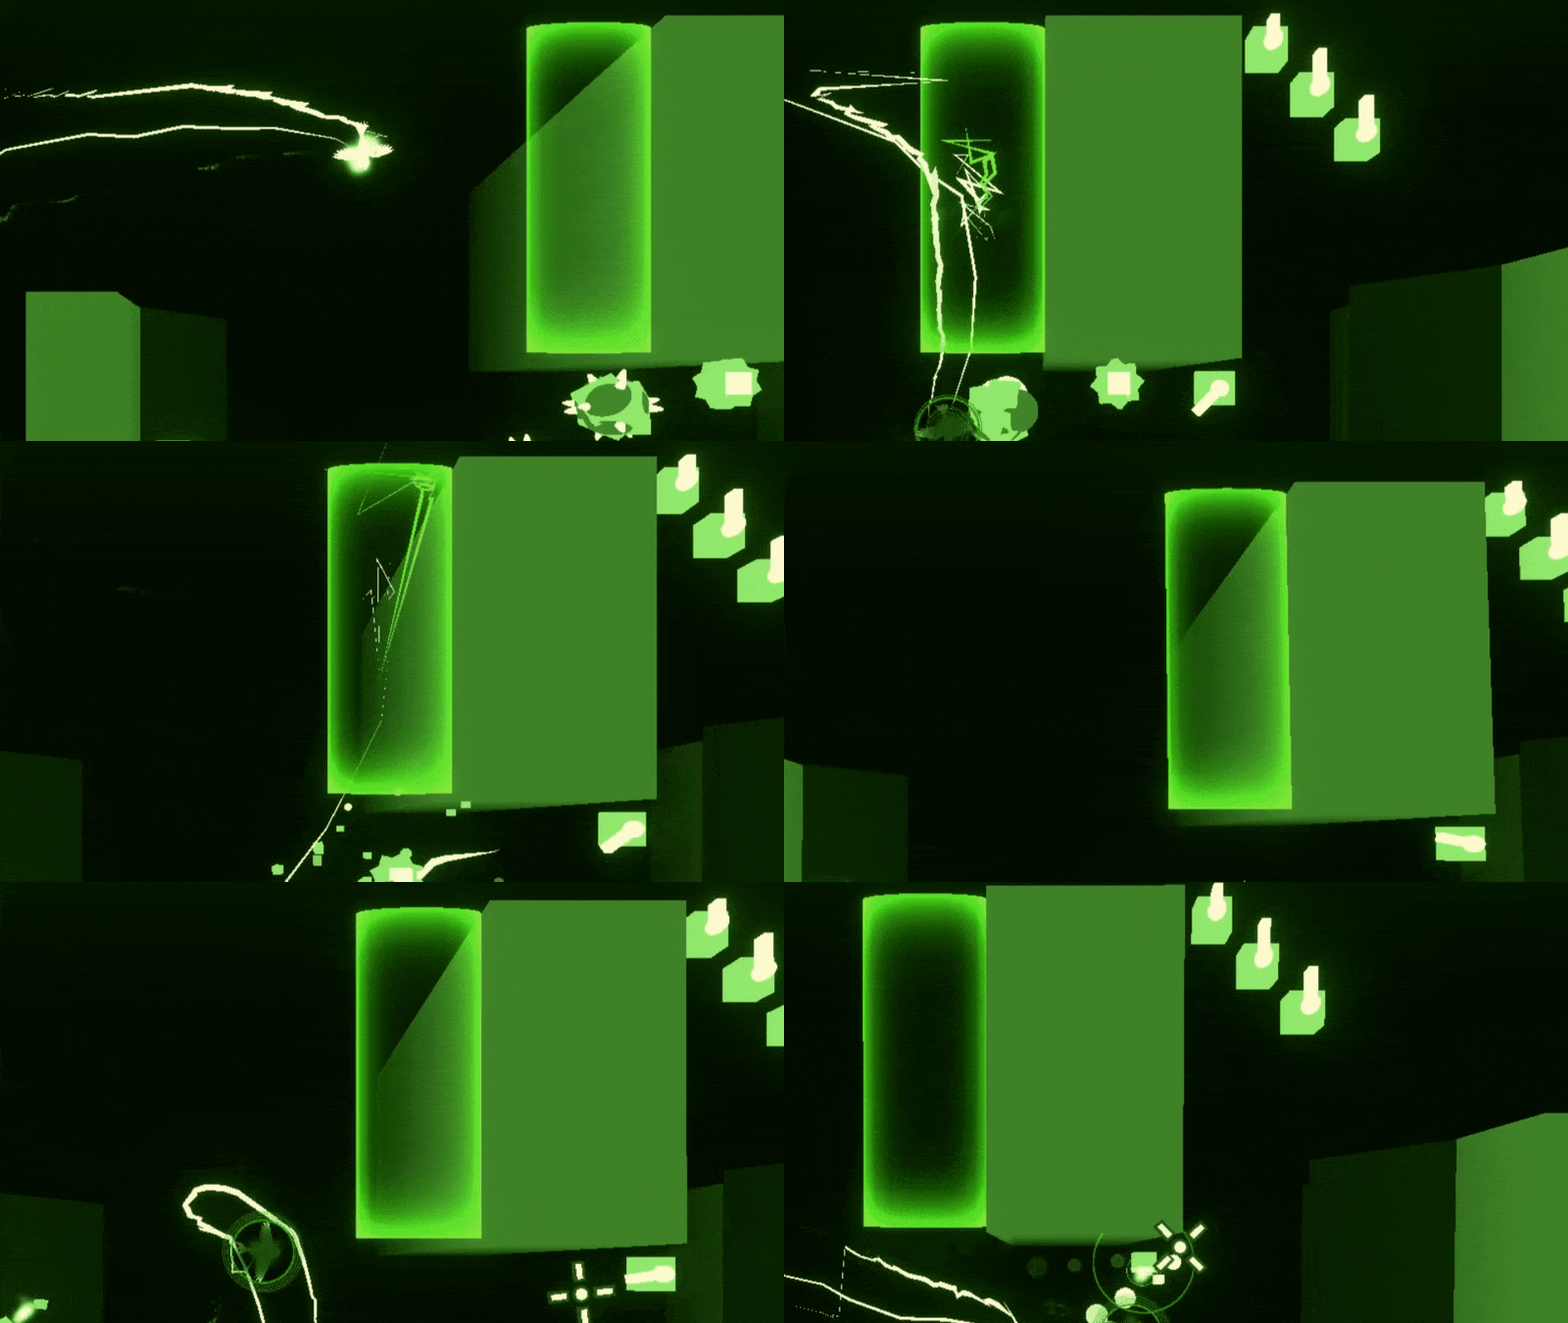
Much like Carriers, Boost Zones can be strategically placed in combat scenarios to supplement boost usage. Unlike Carriers, you can only benefit from them by using your boost here and now; the Boost Energy doesn't stay with you after you touch it. This means we can place Boost Zones in places that are dangerous, adding a risk-reward to using them, or in areas that are far away from things you want to boost into. In the latter example, there might be a faraway Cluster you'd want to use - in order to try to conserve Boost Energy, you might try and snipe the Cluster from the Boost Zone, or you might prefer to swallow your pride and just use your energy. In any case, the decision making of Superbug is greatly increased with this one simple feature.
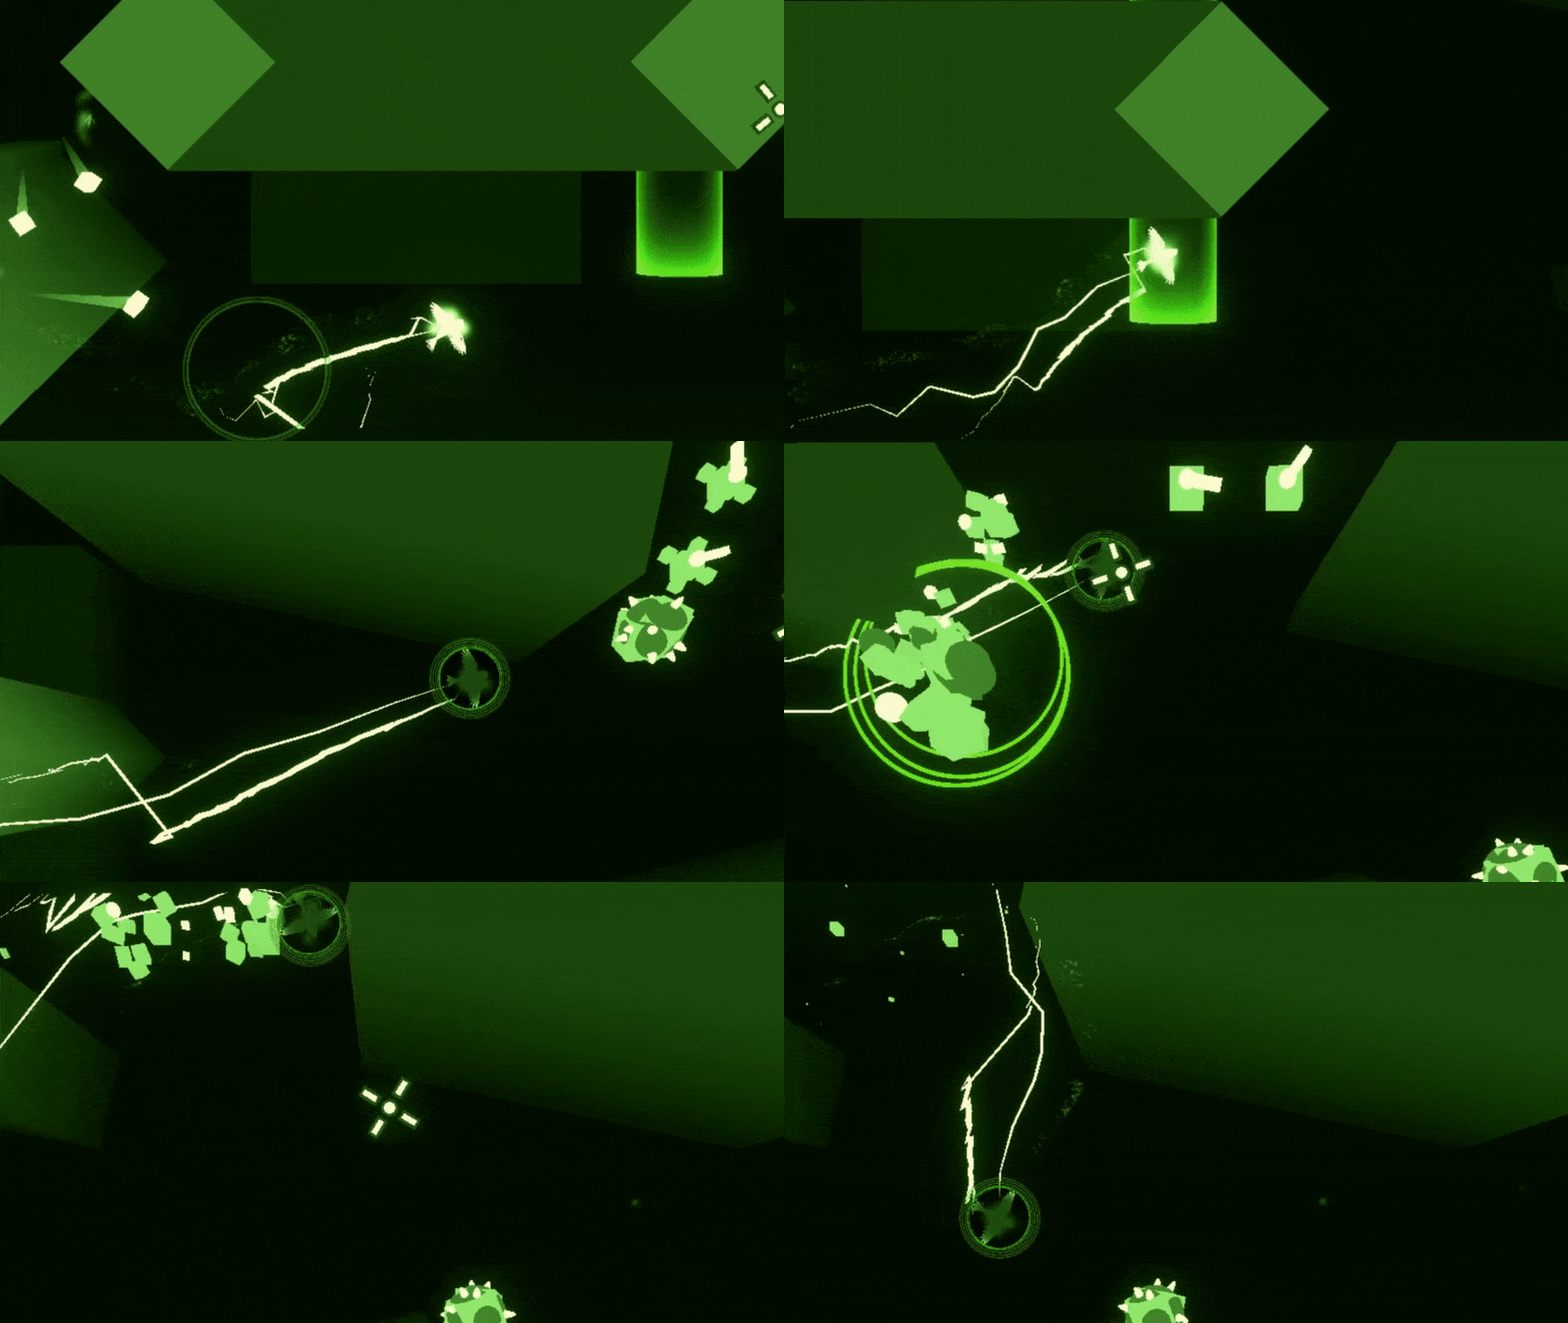
As you can see from the preview, it's another mechanic that utilizes the special saturated colors. Like with the Droplet telegraph, we wanted to use this color to communicate that it's a mechanical feature - not something that will harm or disrupt you. I also spent some time making a very pretty visual effect for it, something that I intend to expand on in the future with more "area" mechanics, which I am very excited to try and implement.
Another positive result of the addition of Boost Zones, was that I finally felt there was enough different boost states to justify adding special sounds for each one. Now, when you try to boost, you can hear a different effect depending on if:
- The boost was initiated from inside a Boost Zone (free boost)
- The boost cost Boost Energy (regular boost)
- The boost cost Boost Energy, and was the last one you could do (last boost)
- You do not have enough Energy to boost, and the boost was canceled (fail boost)
Now the boost has much more comprehensive feedback, meaning you will have to read the UI less to have that information about your boost energy.
Superbug Sunday Specifics #4 - Boost Features
With all of these new boost features, it wouldn't be complete without the addition of a revamped tutorial, and I'd like to show that off now. The tutorial level was one of the first levels we made, so it was quite outdated, despite holding a special place in my heart for the silly things I allowed myself to do with it. Having made several new levels now, and updated most of the old ones, I was more than ready to take on making a new tutorial that could do the game justice, as well as keeping that silly gimmicky feeling.
Something to be said about these new boost features, they will not be used on every level. That was part of the reason to add Barriers to contrast Clusters, who are so iconic that it would be a disappointment to have a level without them. Some levels will use all of these boost features, some levels will have minimal features, and some will use them in unique and creative ways to set them apart from the rest. Boost features have infused Superbug with so much more variety and mastery, that it's almost an entirely different game at this point.
I don't intend to specify this on every devlog, but of course: As with any new content, some of what is shown here is subject to change as the update continues development. In particular, the Boost Zone and Barrier visuals are rough placeholders, which I intend to enhance in time. Superbug's Mutations Update still has many months ahead of it before we can consider it ready for any kind of released, so naturally these older things will be adjusted as new ones are added, and as the game receives sweeping changes to various systems. Until it's ready, there is much to look forward to, both in feature reveals and technical talk of Sunday Specifics to come.
Find us on Discord, YouTube, Bluesky, or Instagram if you'd like.
Happy Flight b741 month -- See ya in September! (With love, Borbo and friends)
Get SUPERBUG
SUPERBUG
CORONAVIRUS IS A FLOP
| Status | Released |
| Author | Plumicorn Digital |
| Genre | Shooter |
| Tags | Arcade, Colorful, Experimental, Fast-Paced, Singleplayer, Unity |
| Languages | English |
| Accessibility | Color-blind friendly, High-contrast |
More posts
- Superbug Sunday Specifics #5 - Mutations, Part IOct 27, 2024
- Superbug Sunday Specifics #4 - Optimizing for BugsSep 30, 2024
- Superbug Sunday Specifics #2 - Score & ComboJul 07, 2024
- SUPERBDAY & MUTATIONS TeaserJun 20, 2022
- SUPERBUG Devlog 1: MutationsNov 21, 2021
- SUPERBUG v1.0.1 Patch Notes!Jul 01, 2021
- SUPERBUG Launch!Jun 21, 2021

Leave a comment
Log in with itch.io to leave a comment.